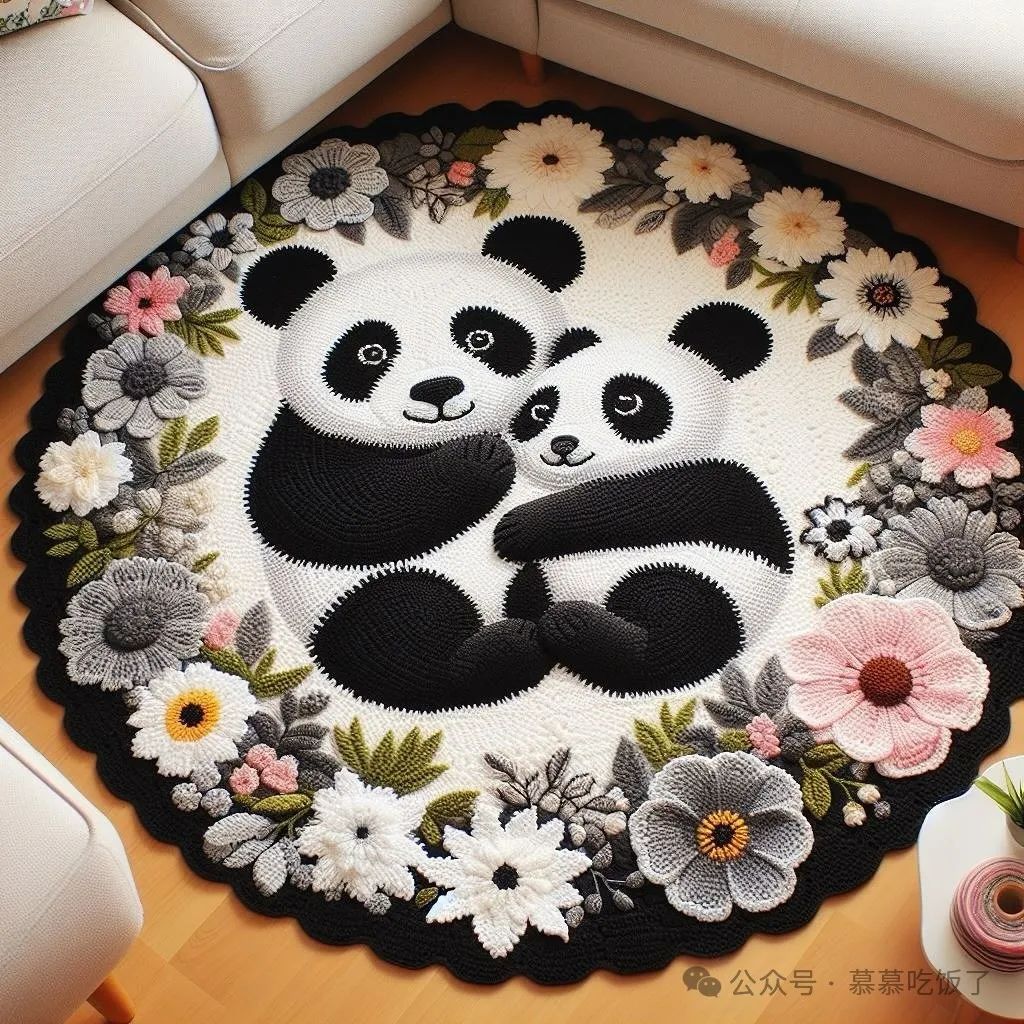
Crochet Panda Carpet: The Ingenious Home Art
In today’s era of pursuing high-quality and personalized home life, a hand-knit panda carpet can undoubtedly add a unique touch of warmth and fun to the home space. Today, let’s step into the world of crochet and explore how to use our dexterous hands and rich imagination to create a practical and creative panda carpet.
Materials Preparation
Before starting to knit a panda carpet, we first need to prepare the following materials:
– Multicolored wool: White, black, and an appropriate amount of wool in other colors are used to simulate the panda’s fur color, eyes, nose, and possible decorative elements.
– Filler (optional): If you want the carpet to be softer, you can choose to fill it with some polyester fiber or shredded cloth strips cut from old clothes.
– Scissors, sewing needle, stitch markers: Used to trim wool, sew parts together, and mark the knitting progress.
Knitting Steps
1. Design Sketch and Casting On
Before starting to knit, draw a design sketch of the panda carpet first, clarifying the panda’s posture, size, and details of each part. According to the design sketch, choose white wool to cast on. The number of stitches cast on is determined according to the expected size and density of the carpet.
2. Knitting the Panda’s Body
Start knitting from the panda’s body. Use white wool to evenly knit the basic outline of the panda. During the knitting process, you can adjust the knitting density and tightness as needed to shape the panda’s round and cute form. When the body part is knitted to a certain length, start knitting the limbs. The number of stitches for knitting the limbs can be appropriately reduced to form a slender shape. At the same time, pay attention to making the connection between the limbs and the body natural and smooth.
3. Adding Details and Decorations
The panda’s eyes are one of its most eye-catching features. Use black wool to knit the panda’s eyes in the appropriate position. To add a three-dimensional effect, you can knit two small black circles as the eyeballs, and then use white wool to knit the highlight part on the eyeballs. Then, use black wool to knit the panda’s nose and mouth. The nose part can be knitted into a triangle or oval, and the mouth part can be outlined with simple lines. If you want to make the carpet more vivid and interesting, you can also add some decorative elements around the panda, such as bamboo, small flowers, or clouds. These decorative elements can be knitted with wool of different colors to enhance the visual effect.
4. Sewing and Finishing
When all parts are knitted, use a sewing needle to skillfully sew them together.
When sewing, it is important to maintain the flatness and naturalness of the stitches to avoid leaving obvious marks. If filling material is chosen, it can be evenly filled into the body and limbs of the panda before sewing to increase the softness and comfort of the carpet. Finally, trim off any excess yarn and threads with scissors to make the carpet look neater and more aesthetically pleasing.
At the same time, inspect and arrange the various parts of the panda to ensure their positions and shapes align with the original design intent. During the crocheting process, maintain the stability of the hook and even tension to avoid creating uneven or loose fabric. When adding details and decorations, pay attention to color matching and proportion to create a harmonious and unified overall effect.
Be cautious when sewing to avoid damaging the already crocheted parts. Also, ensure that the seams are sturdy and reliable to guarantee the lifespan of the carpet. With simple crocheting, we can bring the adorable image of a panda to the carpet, adding a unique warmth and fun to the home space. In this process, we not only enjoy the pleasure of handcrafting but also allow family and friends to feel our care and attention. Why not give it a try and crochet a creative and warm panda carpet for yourself or a loved one?
